Marketing needs innovative ways to get prominence. Banners are a marketing tool that never goes unnoticed. Most of the big businesses have already reaped rich rewards with the use of various dimensions of banners. In terms of the banner printing vinyl photo banners are most popular among the marketers. When the banners are printed using the vinyl material it assures both durability and flexibility. Vinyl banner does not rust, tear or chip even in the extreme climatic conditions. The texture that is provided is easy to print on and the transportation can be done worry free. Nowadays, photo banners have become a good tool for the marketers. With the effective use of photos and designs the companies can give their marketing campaigns a new dimension.
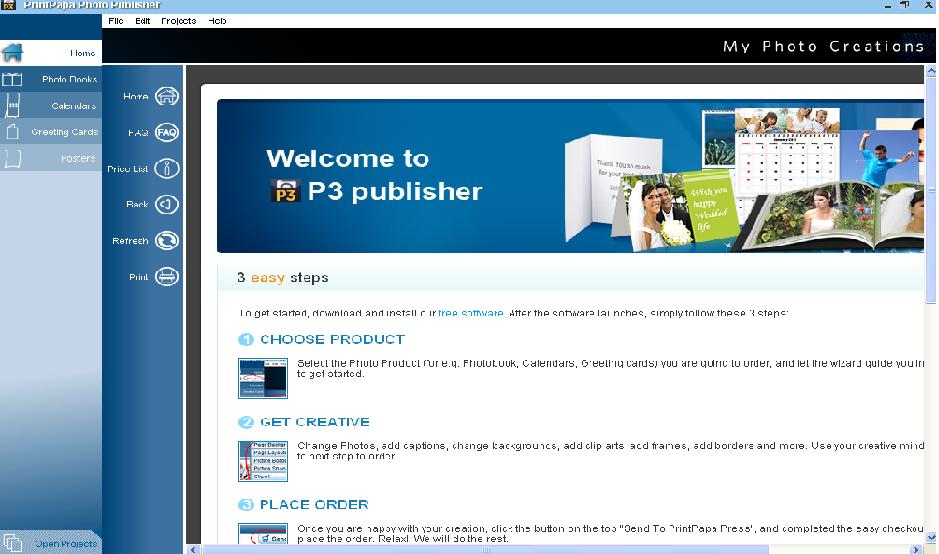
Now you would be thinking that you will require knowledge about Photoshop and the other photo editing software! No, you don’t require to have any knowledge. With renowned printers all the designing can be done with ease. PrintPapa which is one of the most renowned printing service providers has come up with a new software PrintPapa Photo Publisher using which clients can design vinyl photo banners with a few mouse clicks. The printing agency understands that not everyone is a techno-geek so they have kept the operations for this software very simple. Let’s go through the step by step process to create your choice of photo banners:
Step 1:
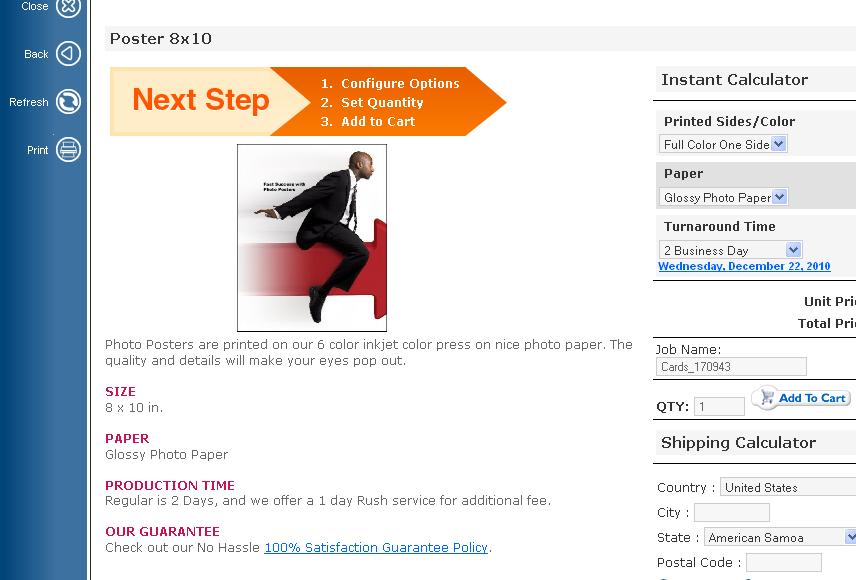
Open the software present on your desktop and you will be lead to the Home page. There are various tabs in this page. You can read about the Pricing, FAQ, etc. and learn whatever you need to know before starting off with the project. Notice tabs on the extreme left panel. Click on the ‘Posters’ option.
Step 2:
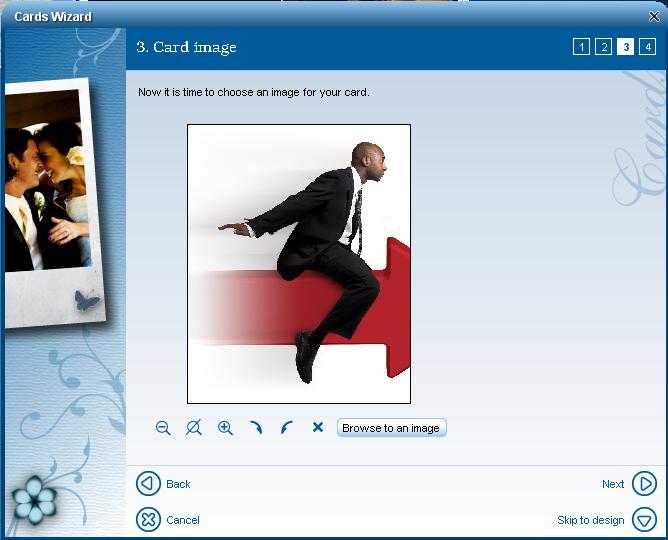
Out of the options available click on Create New. A new window will open up and you can insert the size of the poster that fits your bill among the various standard sizes available for posters and banners. Once this is done next you will have to choose an image for your photo poster. Bear it in mind that the picture you choose should appear clear and have the desired pixels. This is very important to impress the onlookers.
Step 3:
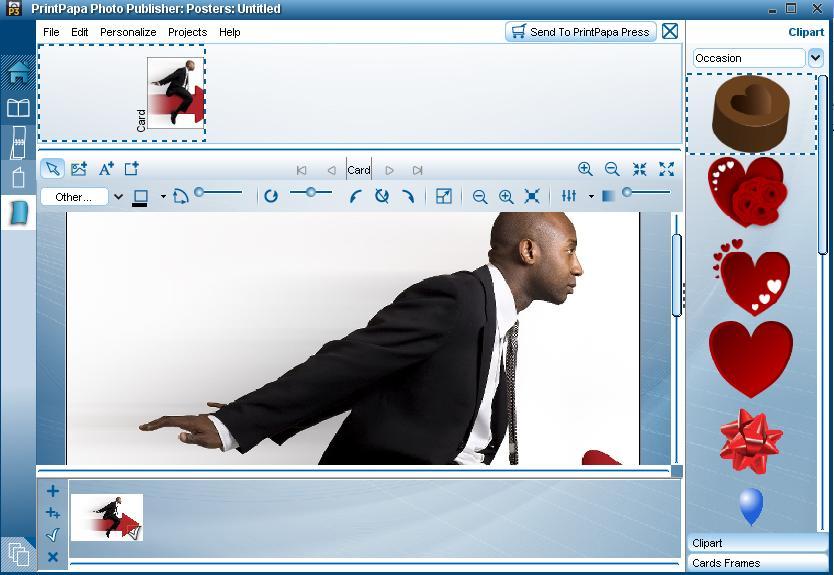
Once the picture is selected click on ‘Next’ button and you will be led to a page where you can personalize the photo poster to best suit your campaign. You will be able to insert clipart to your poster on various themes such as Flowers, Holidays, Kids, Letters, Travel & Vacation, Ornaments, etc. There are other personalization options such as rotate the image, add captions, and resize the image. You may also make the image sharp with adjustments in the skin tone and color.
Step 4:
And you are done! Just send the photo poster design to PrintPapa. Tick on the terms and conditions that appear. Next click on ‘Continue’. Select the number of copies and fill in the payment and shipment details.
It was quite easy wasn’t it? PrintPapa offers various types of photo products such as photo greetings, photobooks, photo calendars, etc.