Printing is a facet that can make a good work appear great. To get good results from your printer you should always be ready to help out the printer in all respects. Sending the work to the printers is one of the important tasks for you. When the formats are correct this saves a lot of time for the printing agencies and also produces optimum output for you. Before sending the work it is always necessary to ask the printers about the type of software and tools they will be using while printing the copies. In case of printing and designing the images there are various types of software that are being used by the printing service providers. These software range from Adobe InDesign, Corel Draw, Adobe Photoshop, Microsoft Publisher, etc. Then there are many varieties of printers using which the printing is done so here are some of the steps to creating a print ready file:
- Format: In case of the artworks the most preferred format is high resolution PDF files.
- Resolution: To get clear prints for the images the resolution needs to be minimum of 300 dpi. If the resolution is less than this then there is a high probability that the images might be blurred and distorted. Bear it in mind that most of the images found over the Internet have a resolution of 72 dpi, and thus, they cannot be used by the printing agencies for printing.

- Colors: The color format for the files should be in CMYK (Cyan, Magenta, Yellow, Black). This format is used by most of the printing service providers. If the files are sent in formats such as Pantone and RGB then they are automatically converted into CMYK format. But in such instances there are some changes in the selected colors.
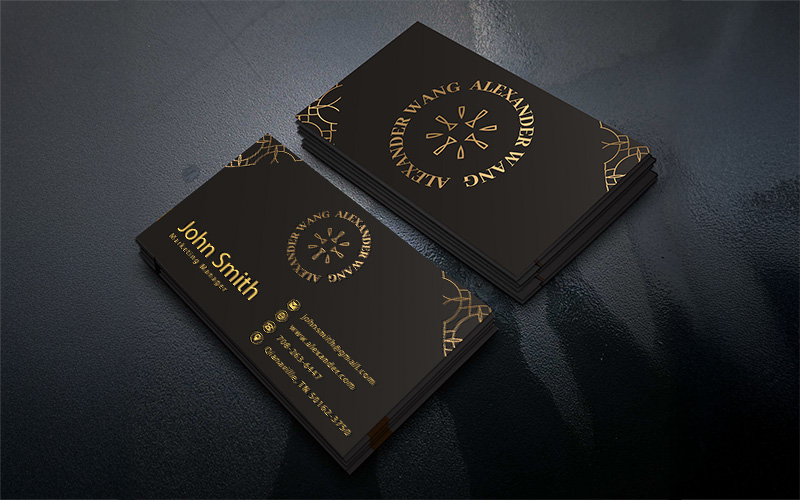
- Fonts: If you using a font that is rare to find then there are high chances that the printer might not have it. This is why the documents should be sent in easy to find fonts. If a font is used that is not with the printer then your work might be automatically substituted by any other mundane font style. Also do not forget to mention the font type on top of the work so that the printer can readily understand. Most of the Design Software will have a way to convert the fonts to an image (called outline in Illustrator). That way you do not have to worry about the fonts getting converted wrongly or incorrect type.
- Text: For printing purposes it is generally asked that the texts should be finished at least 5 mm or 1/8th” from the edge of the page.
- Pagination: Arrange all the pages and documents in page order. If the files are sent in PDF format then they will automatically be numbered.
- Bleeds: If you have colors, graphics, line going to the edge of the printed sheet then you need to extend those elements o.25″ beyond the finish size. So for e.g. a 8.5×11 flyer with bleeds will need to be of 8.75×11.25 inches in size, so that when the paper is cut the bleeds show up properly.
With these simple steps you can make the task of the printing service providers a lot easier and quicker, and thus, get all the printed materials on time. Visit PrintPapa FAQ section to learn more about producing the correct print ready files.