Ok, so let’s say you’ve received a PDF Proof…what now??
Below is a checklist of items to follow:
- If the proof is sent by email i.e. PDF Proof, then print it out on your laser printer and then proof read it, rather than proofing on the screen. There is less chance for distractions and it is much easier to proof.
- Involve a friend, colleague or family member to go through the proof also. A second pair of eyes always help and you will be surprised at what he or she finds that you completely missed.
- Do NOT rush it. Usually mistakes are made when you rush. Unless this is a rush print job where you need to send the approval ASAP, take your time to proof read it. Proof it a second time after few hours just to make sure everything is correct.
- Check to make sure the Phone Numbers, Name, Address, Email and Website are correct.
- We do NOT check for spelling or grammatical errors in your file. So you have to make sure that your content is correct.
- If you’ve used transparent objects, like drop shadows, special text effects, opacities etc. then make sure to check the PDF EXTRA carefully. 90% of issues are because of this doesn’t get looked at closely. Now days PDF files can be generated by almost any application for e.g. Microsoft Word, Power Point, Adobe CS 1 to 6 Suite and many more. All of them generate PDFs in their own way. To make sure they get printed properly, we have to process your PDF file through our preflighting software. This special software makes sure that the PDF is at a certain standard for proper printing. Sometimes not everything on your file gets handled the way it should so the PDF you generated and the one we preflighted may be different. This is why its always a good idea to check the file carefully and make sure all the graphic elements, special text effects and other artwork are showing up properly in your PDF Proof.
- Position & Placement (for e.g. No text dropped out or missing and nothing is too close to the edge of the cut line)
- Pagination (e.g. – for multi-page documents, like booklets or perfect bound books we provide a digitally printed hard copy mockup since these are very important to confirm how the pages look after it has been bound.)
- Low Resolution images (on the screen it will look fine, but when printed they may look pixilated, due to the fact screen resolution is 72 dpi vs print is 300 dpi)
- Borders and Margins: Make sure they look even all around
- Check your file to make sure there is no text or critical art very close to the edge of the paper. There maybe a chance of that getting cut off.
- Color Critical: This is one of the hardest thing to do for ANY printer. If your job is color critical then you need to discuss that with us. We print to industry standard and none of our Proofing methods guarantee any kind of color accuracy. We print to Gracol G7 Standards, but colors depend on various things – Paper, Print Process and more. If your job is extremely color critical give us a call to discuss the available options.
- If this is version 1 of whatever you are ordering, go for a smaller quantity. That way even if you missed something after receiving the job, you can change and then place the big order.
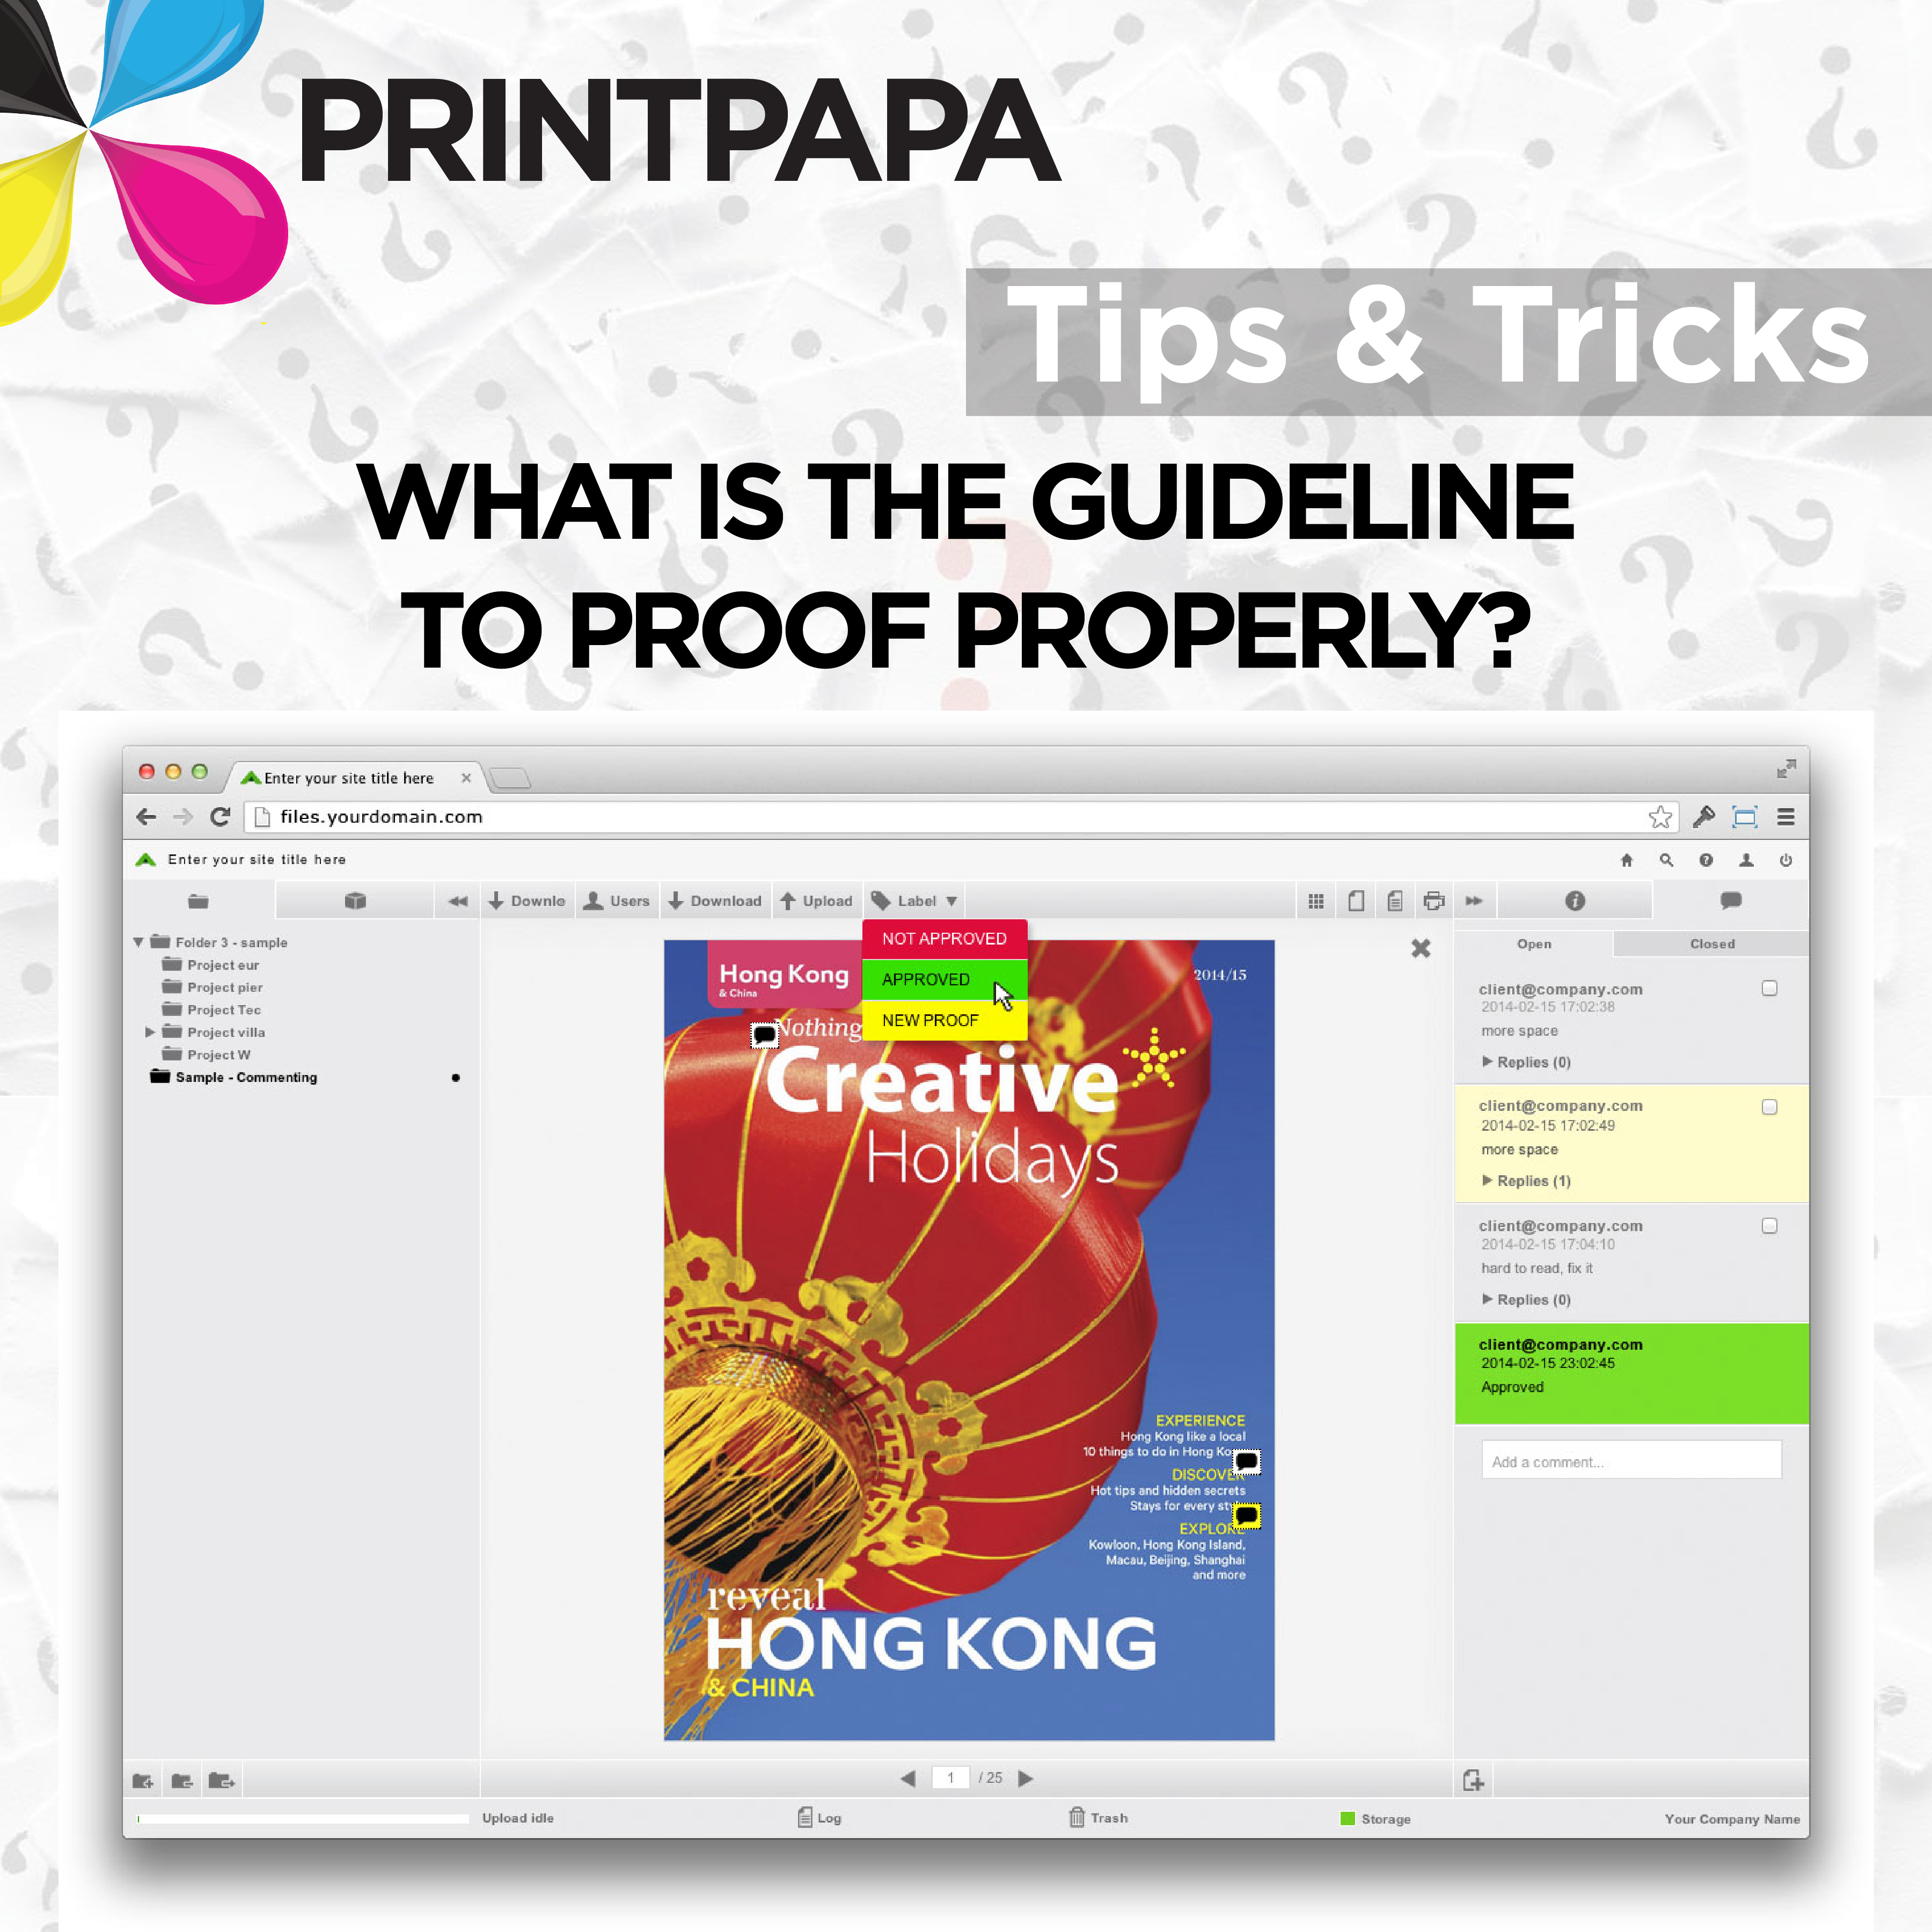
- Lastly, once you are done reviewing your PDF, make sure to Approve or Reject the Proof through our online system. If this is an Online PDF Proof then you can do that online. If it is a Hard Copy Proof then follow the steps mentioned on the document when you received the Proof.